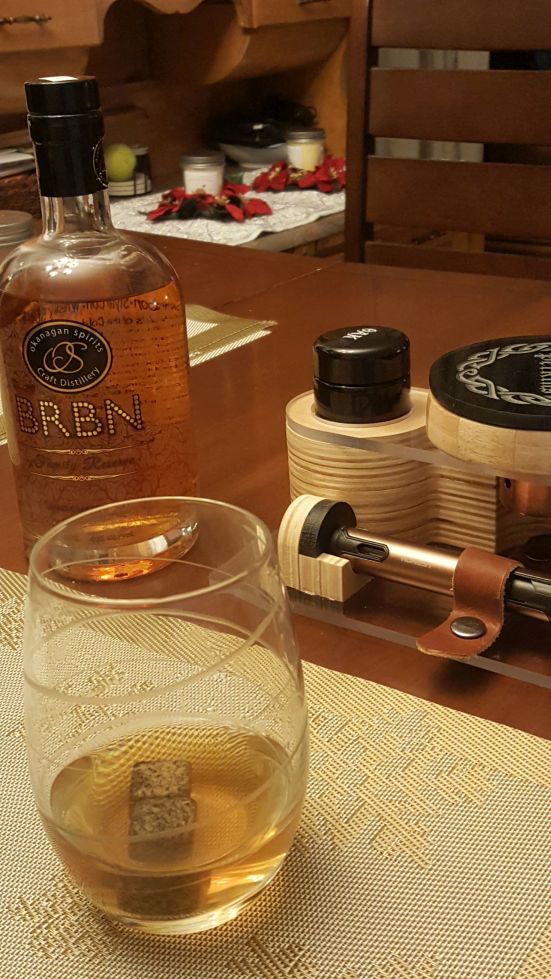
A custom cocktail smoker with a copper bowl to prevent charring and a custom stand that that includes wood chip storage and a pedestal for the torch.
A friend of mine at work asked if I would make a cocktail smoker for her husband for his birthday, (she actually said “whiskey smoker” as this what he would be smoking). I said sure!! but what the hell is a whiskey smoker??.
A quick search on Google enlightened me as to what a whiskey smoker was and the multiple variations that were available.. A common trait all the wooden smokers had was a wooden “burn bowl” in which the wood chips were inserted before igniting them to create the smoke, (the wood chips are actually suspended by a metal screen within the wooden bowl). Any pictures I found that showed a smoker that had been used showed charring of the wooden bowl due to the torch igniting the chips, (which stands to reason). I figured there had to be a better way!!
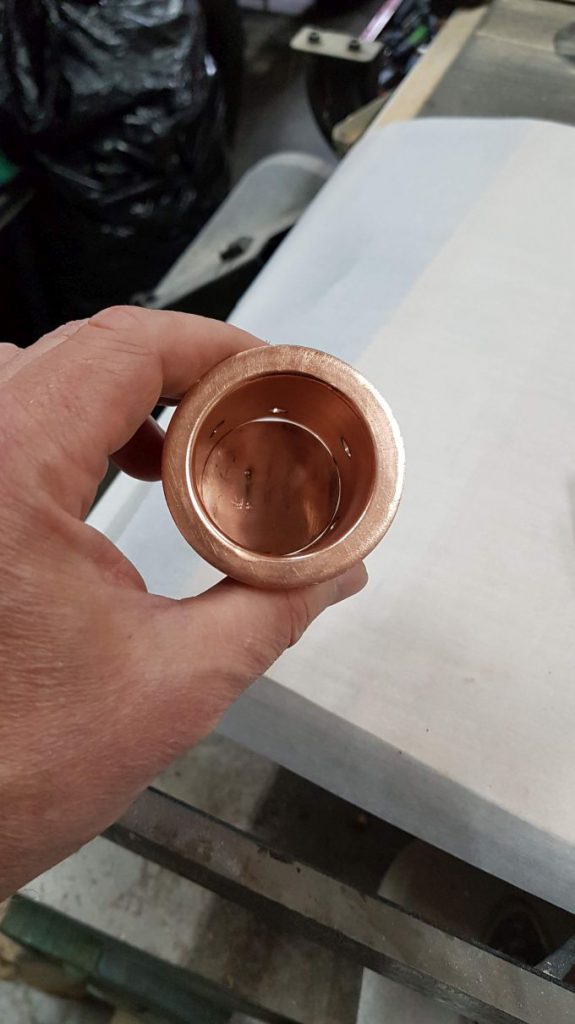
what I decided on was using a metal bowl instead of a wood bowl. I thought copper would be the way to go as there are countless copper fittings to choose from and I would probably be able to pick something up “off the shelf” to use for the bowl…turns out, it wasn’t that easy.
I scoured the local hardware stores for something that might work and found nothing:(. I then searched the internet, using an image search because I’m not a plumber and didn’t know what this flange or adapter would be called. This search also came up empty. I was looking for something that would have a flared top to protect and support the wood disc and would be closed at the bottom. No such luck.
I ended up using this fitting but had to enclose the bottom as it was open ended. A guy at work said that he would solder a disc into the bottom of the flange if I could find a copper disc that would fit. As luck would have it, there were no “off the shelf” copper discs available, (that I could find anyways), So I created my own by cutting a piece of copper pipe in half then hammering it out flat then cutting a perfect circle to fit inside the copper flange. This was quite the process as I’m not a metal worker but I wont get into the details here. Suffice it to say, there were challenges!!
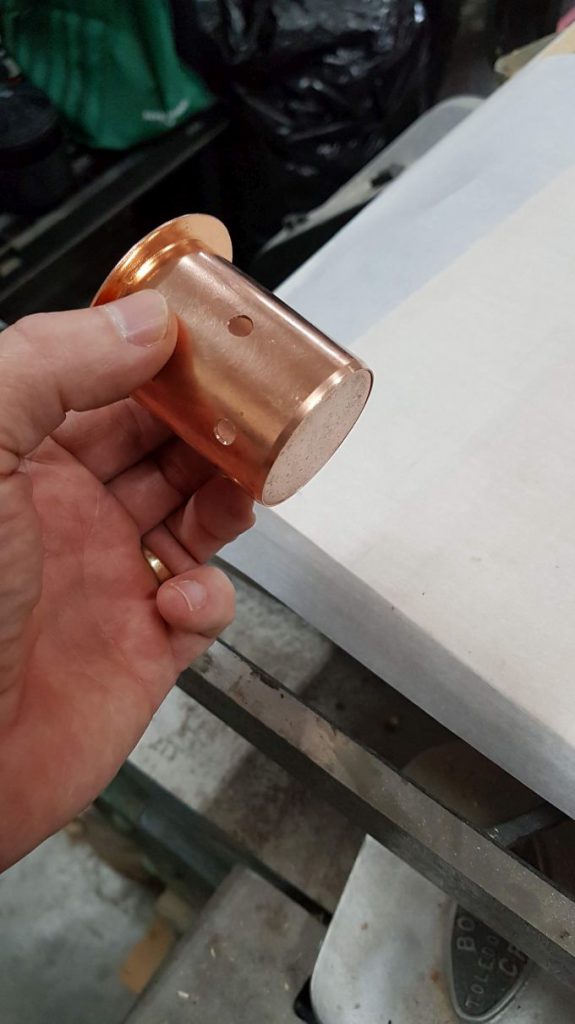
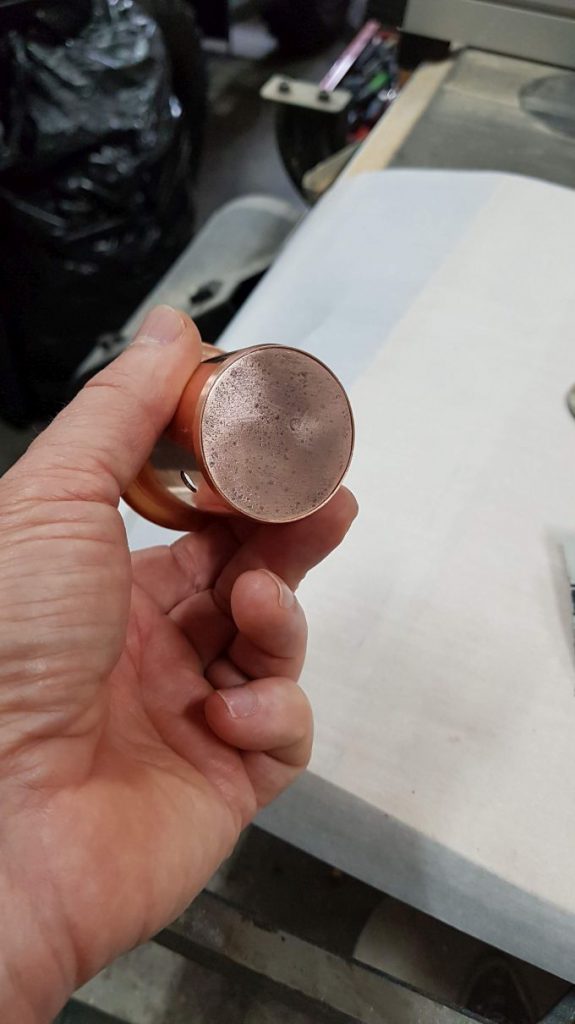
I gave the guy at work the flange and the disc and he did an awesome job of soldering the two pieces together using silver solder, (Thanks Dean!!). Apparently silver solder has a higher melting point and would not return to a liquid state when torching the chips, (having molten solder balls dropping onto the ice and the whiskey would make for an awesome TikTok video but would likely be disappointing for the thirsty recipient.
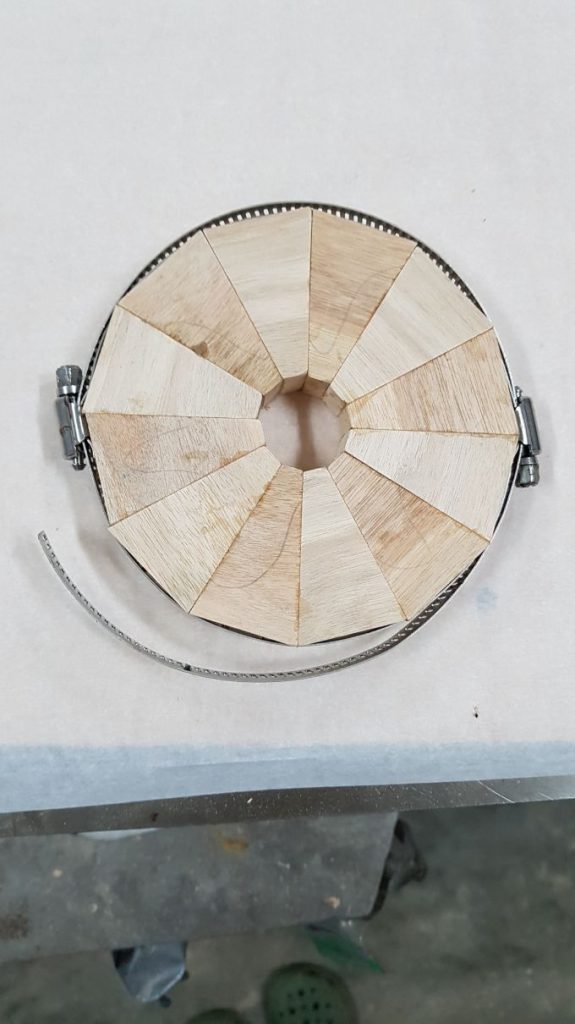
After the smoke bowl had been created, it was time to build around it. I created a segmented wood ring to set the smoke bowl into and to support it on the rim of the glass. I’ve made myself a “segmented ring jig” That made the process pretty simple then used my Longmill CNC to round off the outside, the inside and the recess that the copper smoke bowl would sit into.. The ring turned out perfect but there were a few sections of raised grain, (most likely due to a dull bit), so I had to clean it up. I don’t have an oscillating spindle sander so I had to improvise and use my drill press to smooth it out.

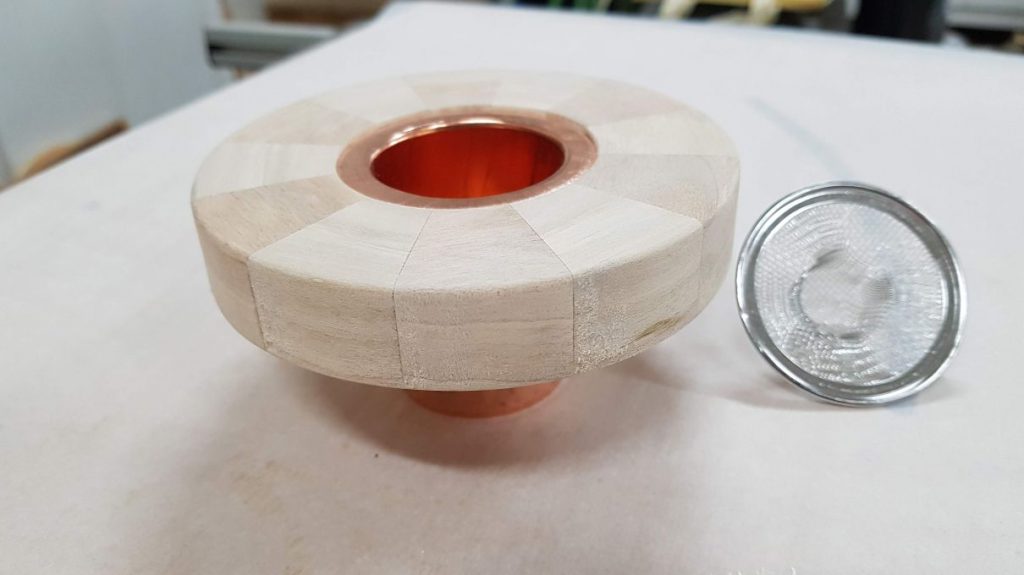
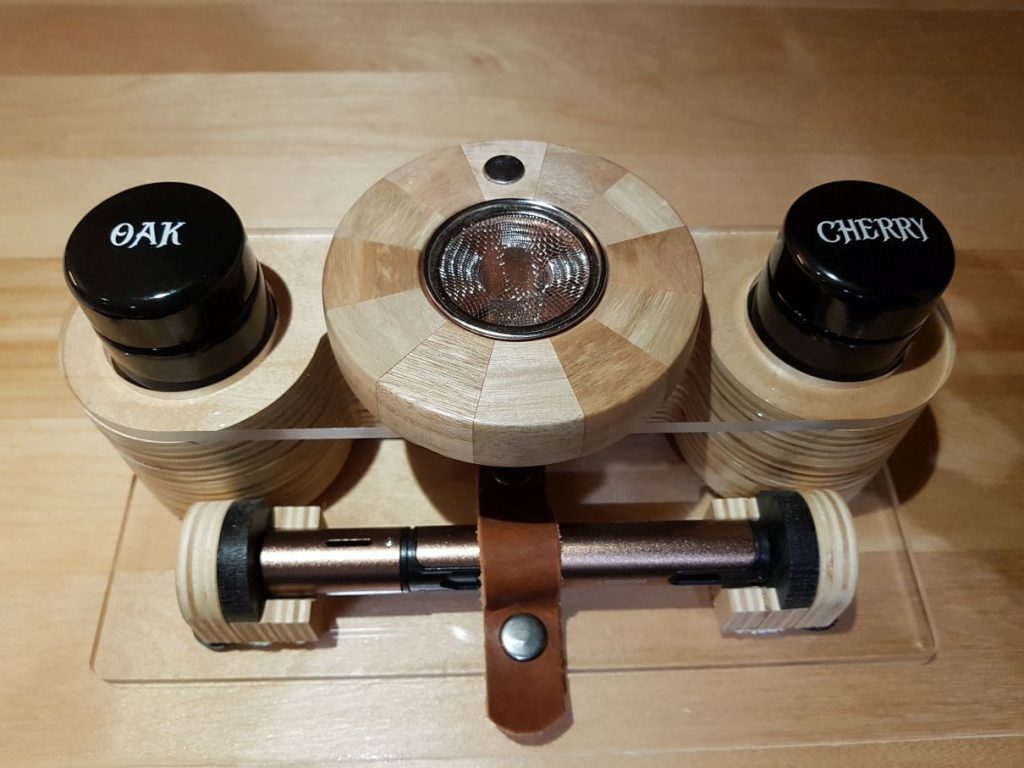
Next on the list was a lid for the smoker. To be honest, I’m unsure of the function of the lid other than keeping the screen in place. Maybe you are supposed to close the lid after igniting the shavings? I feel that the shavings would be mostly spent after using the torch but maybe it would help to keep the smoke in the glass. I’m no expert, but I knew it needed one. The first lid I made was made of wood. I used my CNC to design the top but when trying to round over the edges with my router, it blew apart. Pissed off, I decided to make the lid out of plexiglass.. I carved the design in and used a rare earth magnet in the lid and the segmented disc to act as a pivot point/hinge. The lid can then be removed or swung off to the side.
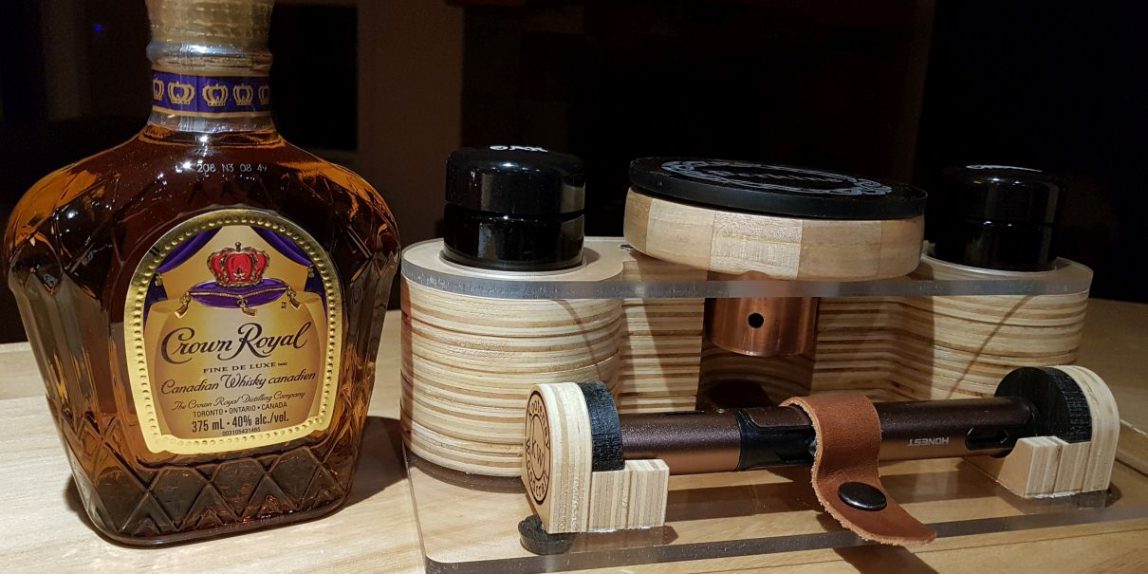
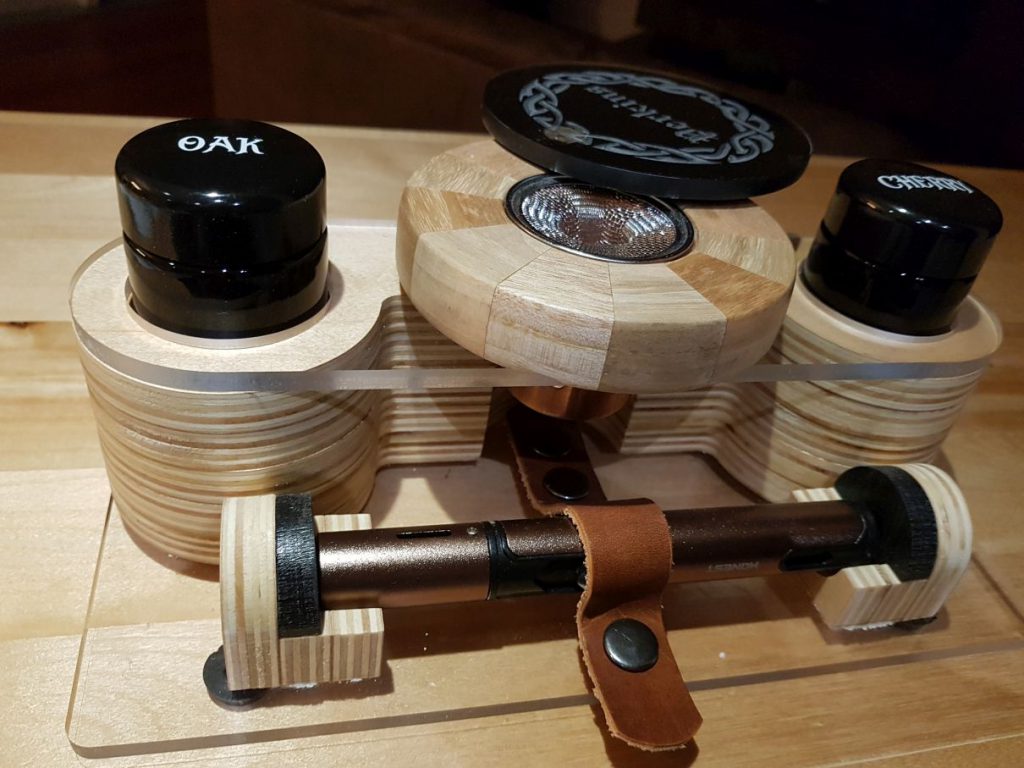
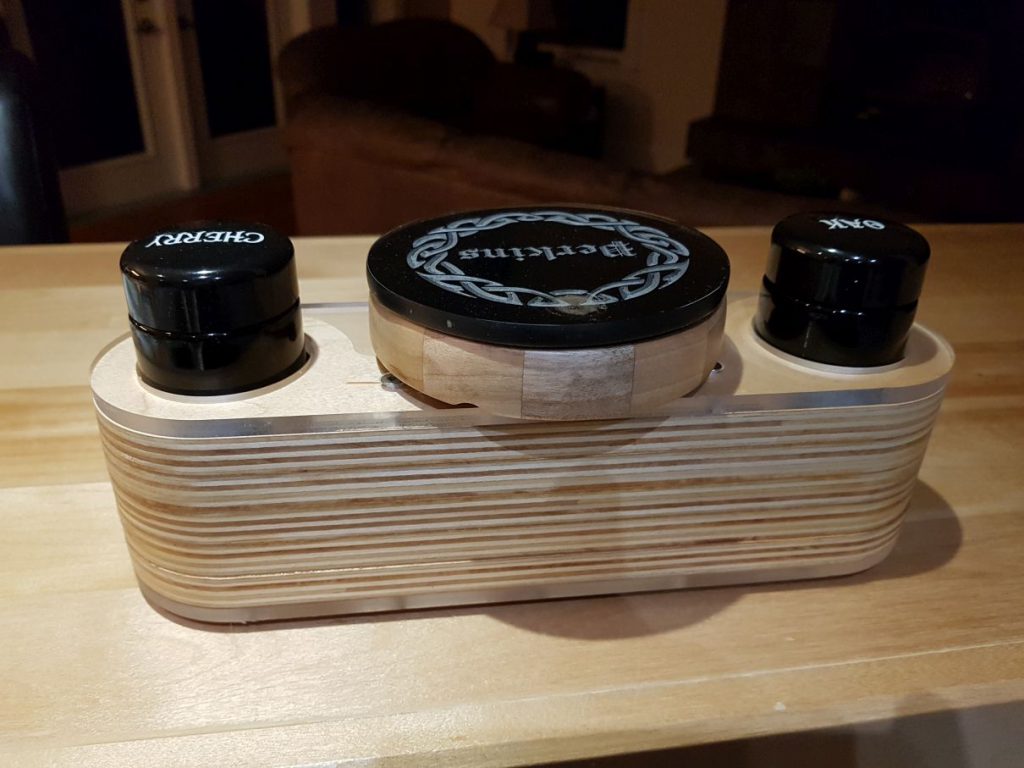
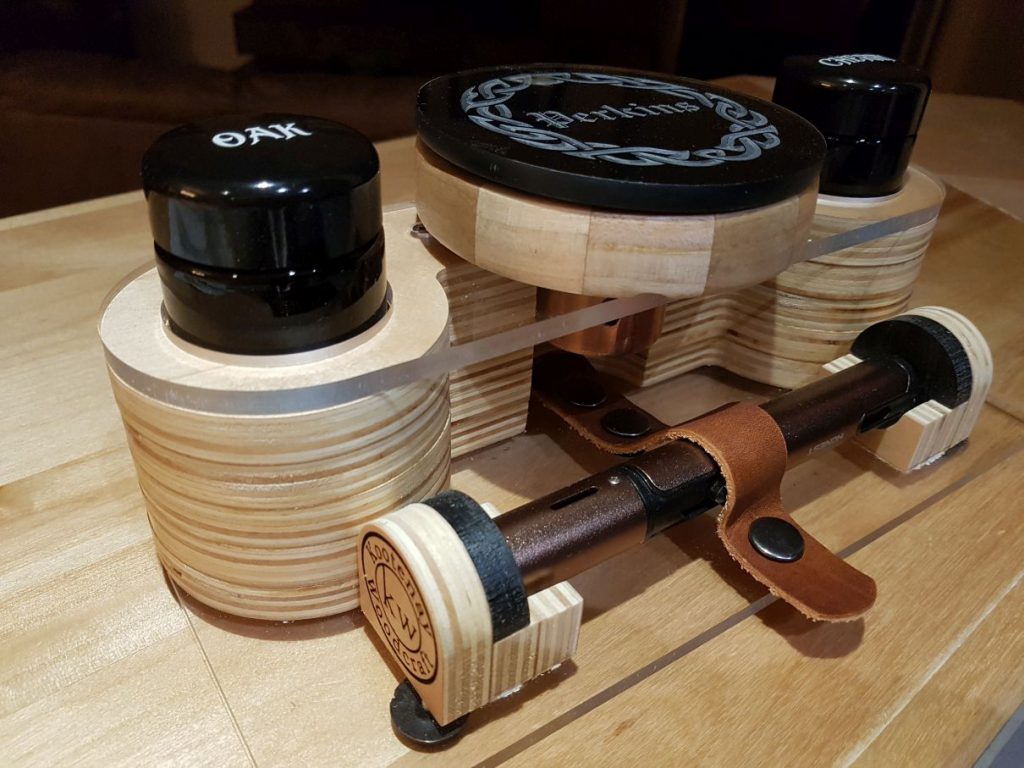
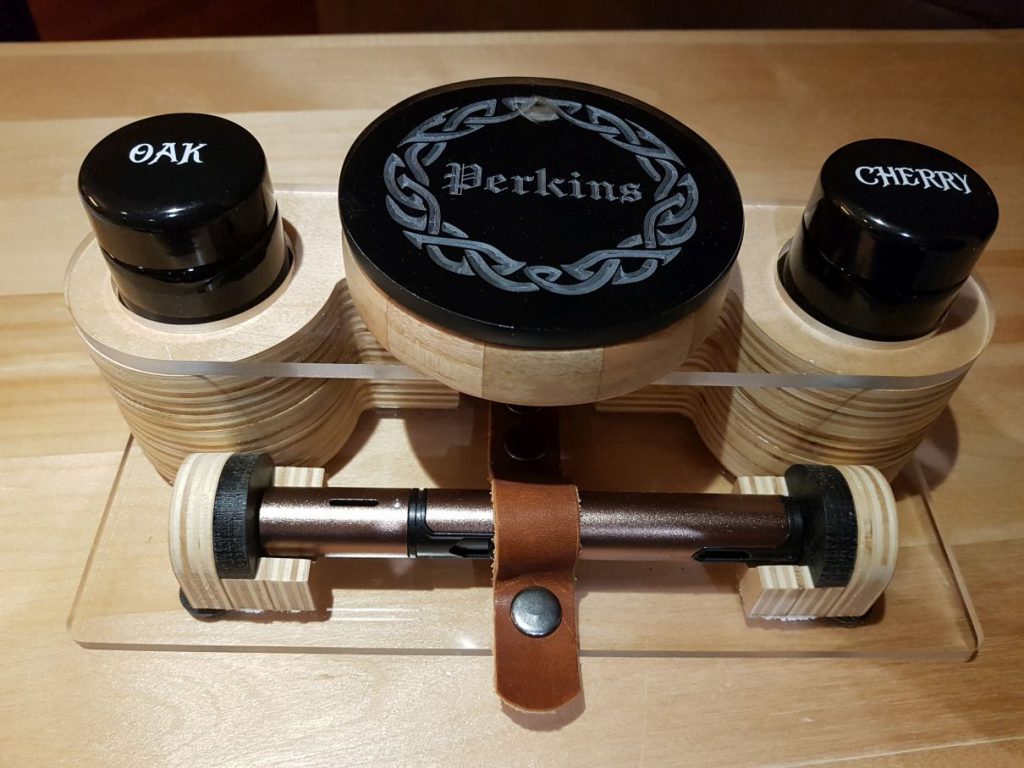
With the actual smoker completed, I started thinking about a stand to store/display it. I decided that I wanted to have integrated storage for the wood shavings and storage for the torch. After much deliberation, this is the configuration I went with. I used my CNC to cut out multiple pieces of 1/2″ plywood which I then laminated together. I had some clear plexiglass left over from the “Covid Screen” I made for my wife. that I used for the top and base of the stand. There are two holes in the plywood stand that hold the two jars of shavings and a “mantle” up front that the torch rests in. I used leather and some snaps to keep the torch in place. I used my Ortur laser to “sneak” my logo onto the ends of the torch mantle.
I had a lot of fun creating this gift!! I don’t think I’d make another one due to the time it took to make but her husband was thrilled with the gift:)
Below is the message he sent me after trying it out and the picture he included. (his Birthday wish is due to the fact that we share the same birthday…even the same year!!)
Cheers Gerry!
Amazing craftsmanship and what a result! You get a smoky aroma as you lift the glass and then all the smoke notes in the drink itself. Fantastic!
Oh, and happy belated birthday!
Pat