I got a request from a lady at work wondering if I could make a crib board for her. It would be a Christmas gift for her father who has parkinsons disease and is unable to move the pegs on a regular crib board. She told me that he loves to play crib with the caregivers that stop by his home and at the day program he visits. I told her that I was up for the challenge and wanted to come up with a solution that would enable him to play the game he loves and be able to move his own pegs.
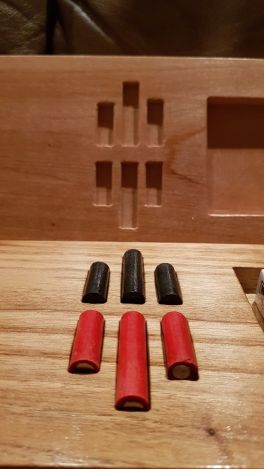
After many sleepless nights, I came up with an idea I thought might work. A board that used magnets and metal instead of holes and pegs. This would allow him to slide the pegs along the surface and would just have to release the peg when he was over the correct spot after counting his hand.
Now that I had a plan, I just had to figure out the logistics. I originally thought about setting a magnet into each hole and have a peg with a metal base but having two rows of 120 magnets would have added too much to the price. My next thought was using washers in the holes and mounting a magnet in the base of the peg but after some testing, I found that the magnet wanted to shift to either side of the washer because that was where the majority of the metal was. I scoured the internet for some washers without holes or “slugs” but couldn’t find any. My Uncle Bryan suggested mixing up an epoxy/metal filing slurry I could fill the holes with but after testing, the filled holes didn’t have enough metal density to attract the magnet.
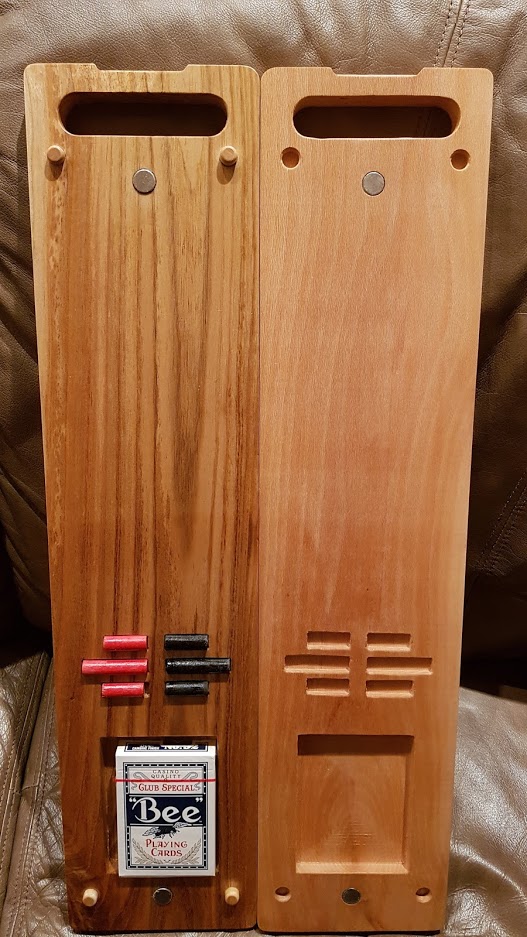
I settled on using small nails to set into the holes. and magnets in the base of the pegs. I used my CNC to drill a small hole for the shaft of the nail and created a small recess to allow the head of the nail to sit flush on the board. I then had the tedious task of gluing nails into each hole on the board.
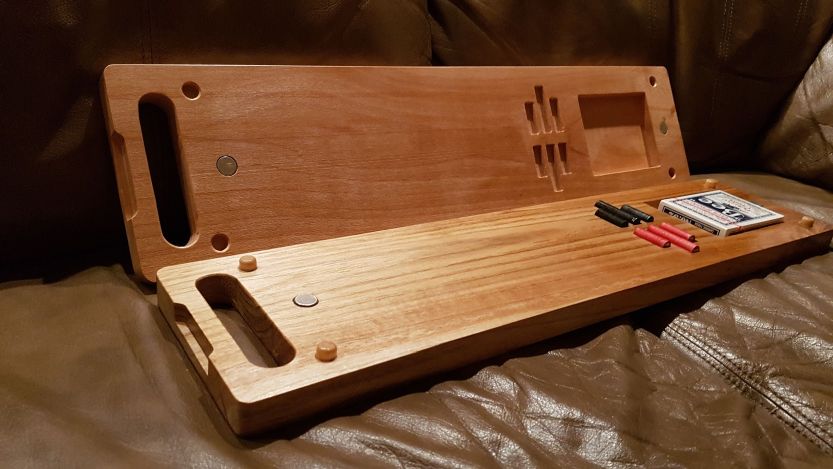
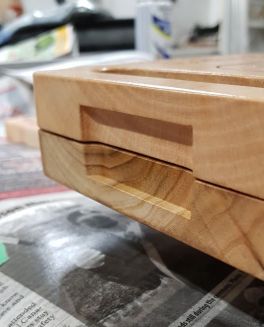
To provide storage for the cards and pegs, I routed in recesses in the top of the board and the base of the board. Sticking with the magnet theme, I recesses magnets into both halves of the board to keep things together. I also installed four registration pins to line up the two halves when putting it back together.
After putting it all together, I found that separating the two halves was difficult so I created a “notch” on both halves that would create a space to create some leverage and separate the two halves.
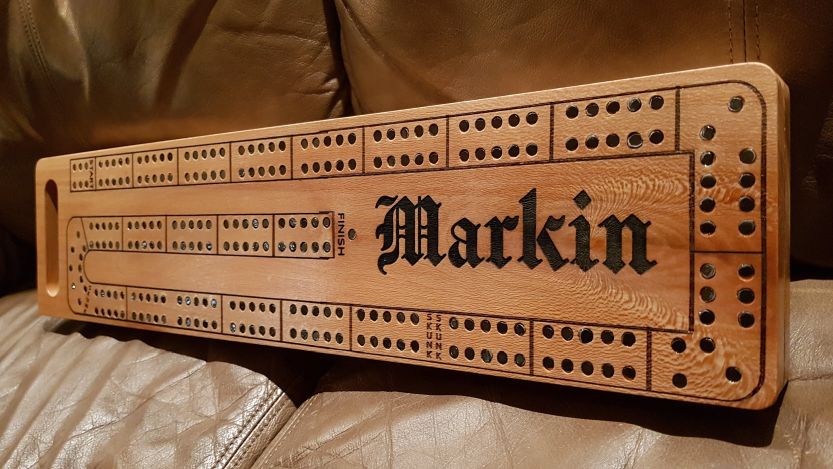
After the CNC work was done, I exported the CNC file as an SVG and imported it into my laser software and began burning in the “Markin” name and the borders for the holes.
I managed to get the board finished in time and Mrs. Markin was thrilled with the finished board!!:)
It felt great working on a project that would ultimately improve someone’s quality of life….even if it was only enabling him the ability to move his own pegs playing a game of crib.
A quick note, A month or so after Christmas, I received an email from the board recipients wife telling me how much her husband liked the board and that he used it every day. She just wanted to say thanks. That meant a lot to me. -Thanks Agnes-