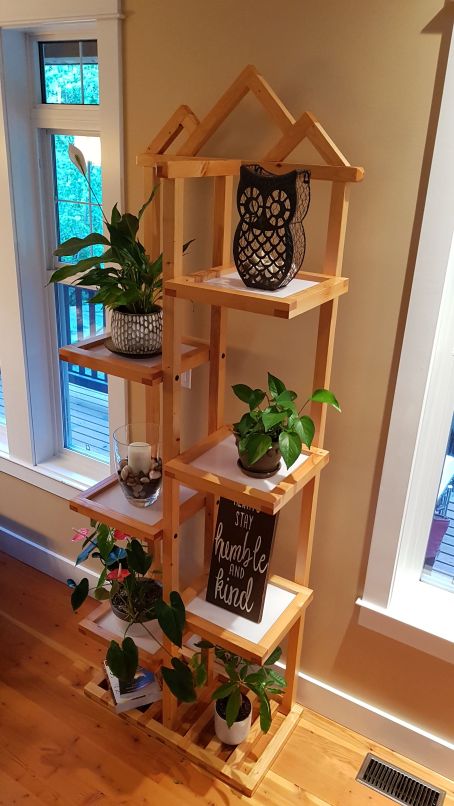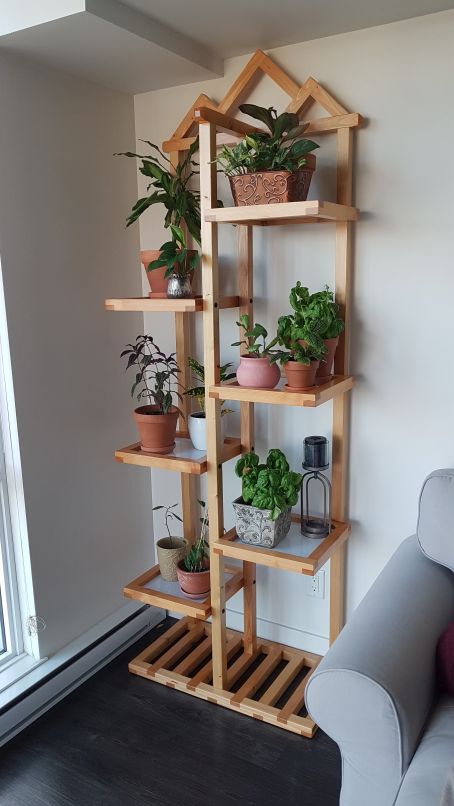
This is a plant stand I made for my son Ryan and his girlfriend Bruna. It’s called the “42 Lap” Plant Stand because there are 42 lap joints between the shelves and the base!!
Ryan and Bruna were just moving into a new condo and asked if I would make a plant stand for them as Ryan loves plants and their place is like a botanical garden:) Ryan has always loved plants.
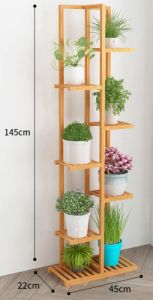
Bruna sent me an example of what they were looking for. I found this one on Amazon but the reviews said it was kind of flimsy and smaller than they thought it would be. I used this image as a visual guide for the one I was going to make I just had to figure out how I was going to do it:)
The prerequisites were:
-The stand had to be modular so it could be taken apart to transport it to Victoria
-It had to be sturdy so I wouldn’t have to worry about warranty issues;)
-It had to look nice!!
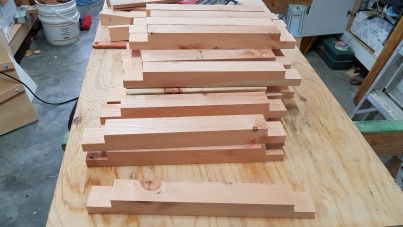
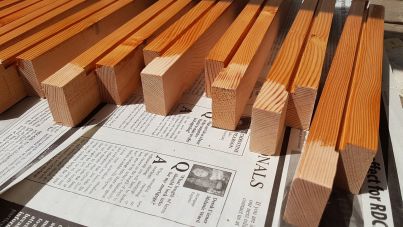
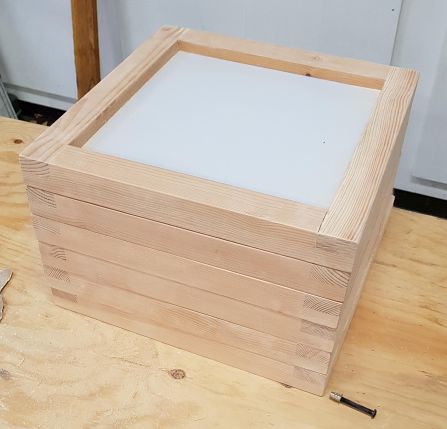
I built the stand out of fir lumber and used some white acrylic plastic for the shelves. I had considered using wood slats for the shelves but figured that the acrylic would prevent any water that happened to exit the pant pots would be contained on the shelf rather than dripping onto the floor. There is a slot cut into all of the shelf sides to accept the acrylic. I prefinished the inside of all shelves before assembly to ensure that any spilled water would not come into contact with unfinished wood. this was a bit of a pain as I couldn’t pre-finish the rest of the wood on the shelves as I wanted raw wood exposed for the glue up.
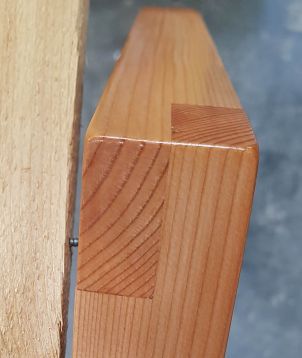
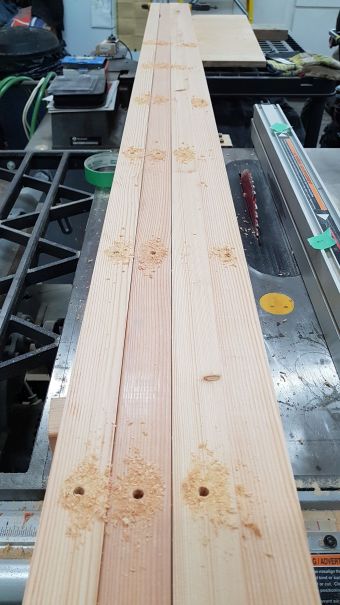
The slots on the shelves were cut on my cnc router. If I had went with mitered corners I could have cut the slots on my table saw but because the joints were lap joints, (for strength), the slots had to terminate before the ends or they would have been exposed. The cnc seemed like the easiest route.
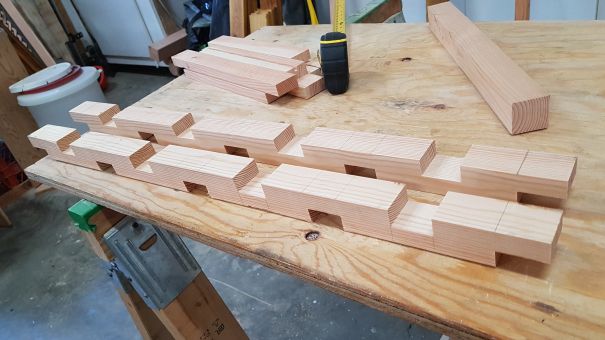
Once all the shelves were done, I set out to build the vertical posts that would support the shelves. I went with two posts in the center that had holes drilled through to support the shelves to the right and the left. The remaining two shelves only had holes for the shelves on that side, (common sense, I know). I clamped all 4 post together when doing the layout, marking the two center posts at each shelf intersection and marking the outside two posts at every other shelf position, alternating between the two of them, (once again, common sense but I dreamed it up on my own so I thought I’d mention it:) ).
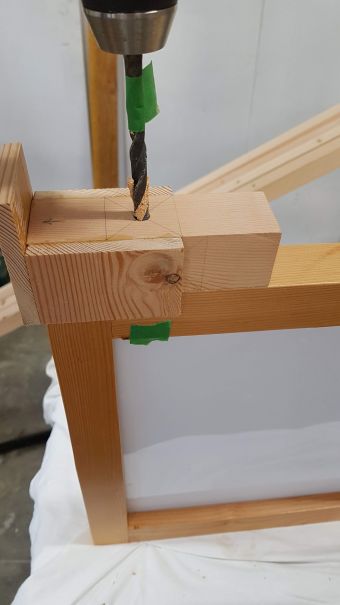
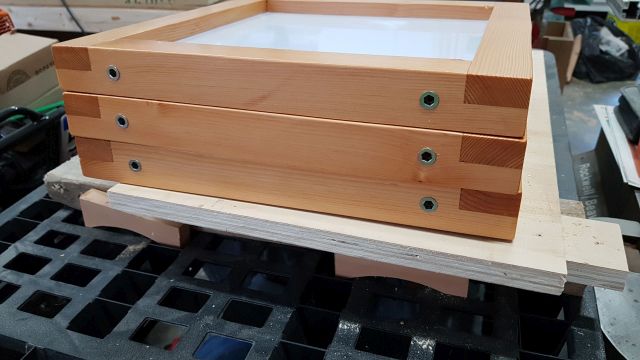
The next step was installing the threaded inserts into the shelves. This was my first time using threaded inserts but it wont be my last. I love them!! I read that the secret to success was to make sure the inserts are installed perfectly perpendicular to the surface they are being mounted in. I built a simple jig to ensure that the inserts would be drilled straight and that the holes would be evenly positioned on each shelf.
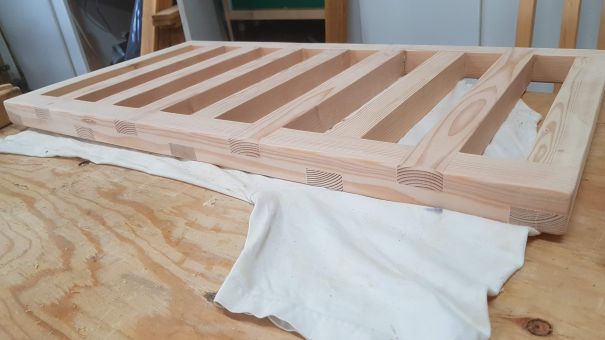
Now it was onto building the base for the stand. I had thought about just making a frame and mounting acrylic to the top of it but when trying to figure out the bracing that would be required underneath the acrylic and pondering how the posts would be attached to the top or if they would extend through the top, I just decided to leave it open much like the Amazon example. Seeing as I was on a 1/2 lap run, I thought I would carry on the theme to the base. Thinking that the 1/2 laps would help highlight the shelf 1/2 laps and I think it did:) It was a bunch of extra work but I think it was worth it.
All that was left was the top supports that would attach to the top of the posts. They are two separate pieces that are bolted together with the help of another insert. I got it all done and the stand was solid…but I felt it was missing something. That something ended up being a mountain silhouette:) I ended up using rare earth magnets to hold it in place as I didn’t want someone to try carrying it by holding onto the mountains, (and it was easier than using more inserts and bolts.

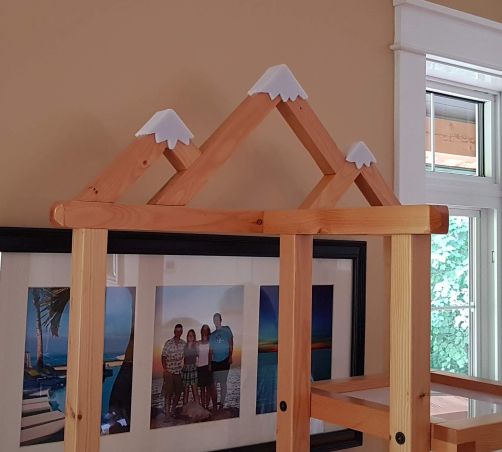
The stand was done!! after I applied the finish to it and setting it up in our house to make sure it all went together ok, I was a couple days ahead of schedule, (when we had to leave for Victoria). I had one more thought. How about some “snow” to cover the mountain peaks. I went back to the shop and put together 3 snow peaks that would just sit on top of the mountains. These could be added in the fall and removed in the summer. They look pretty nice.
The plant stand turned out very well but it took a lot of time. It’s another project added to the list of projects that could not be made profitably. I am however thinking about putting together a set of detailed plans that I will sell if there’s enough interest. Send me a note using my “Contact” page if you might be interested..
Thanks